Sub Workspaces Webpart
Before you add the Sub Workspaces Webpart to your template navigate to your workspaces list and create a new column.
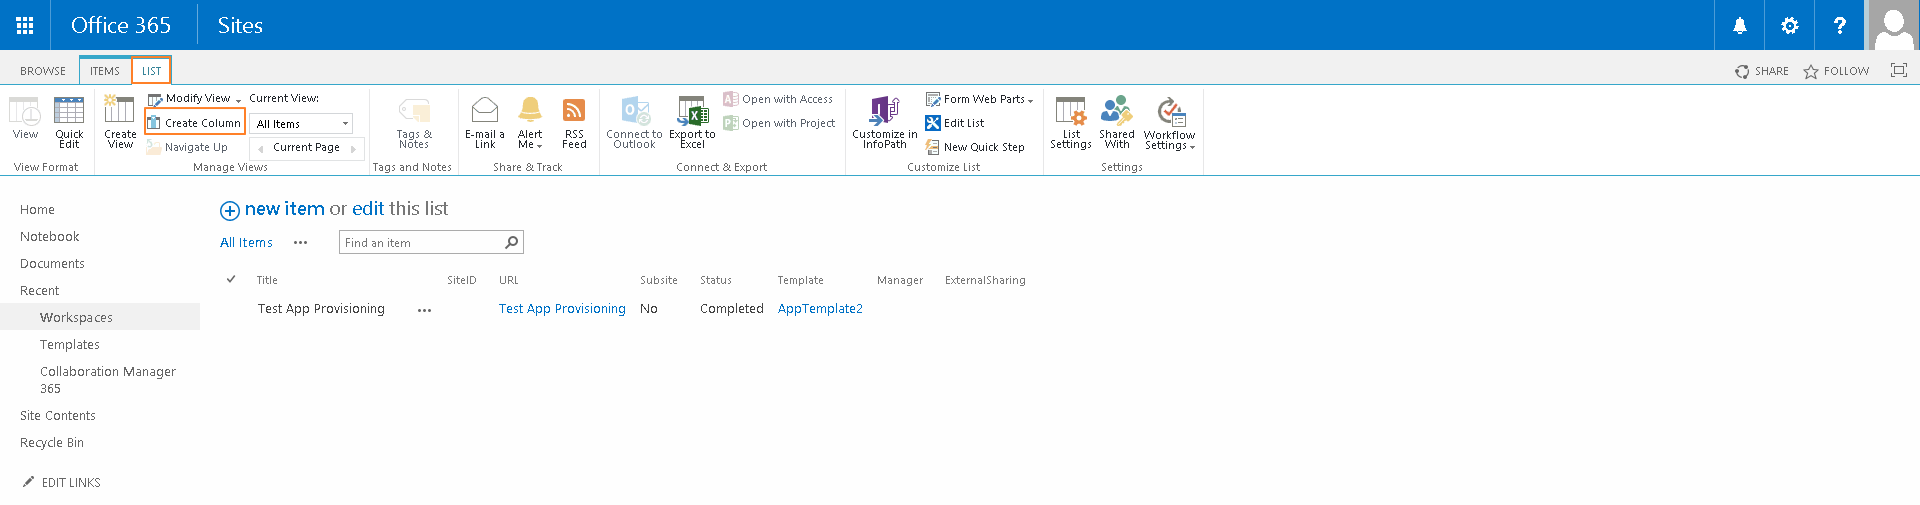
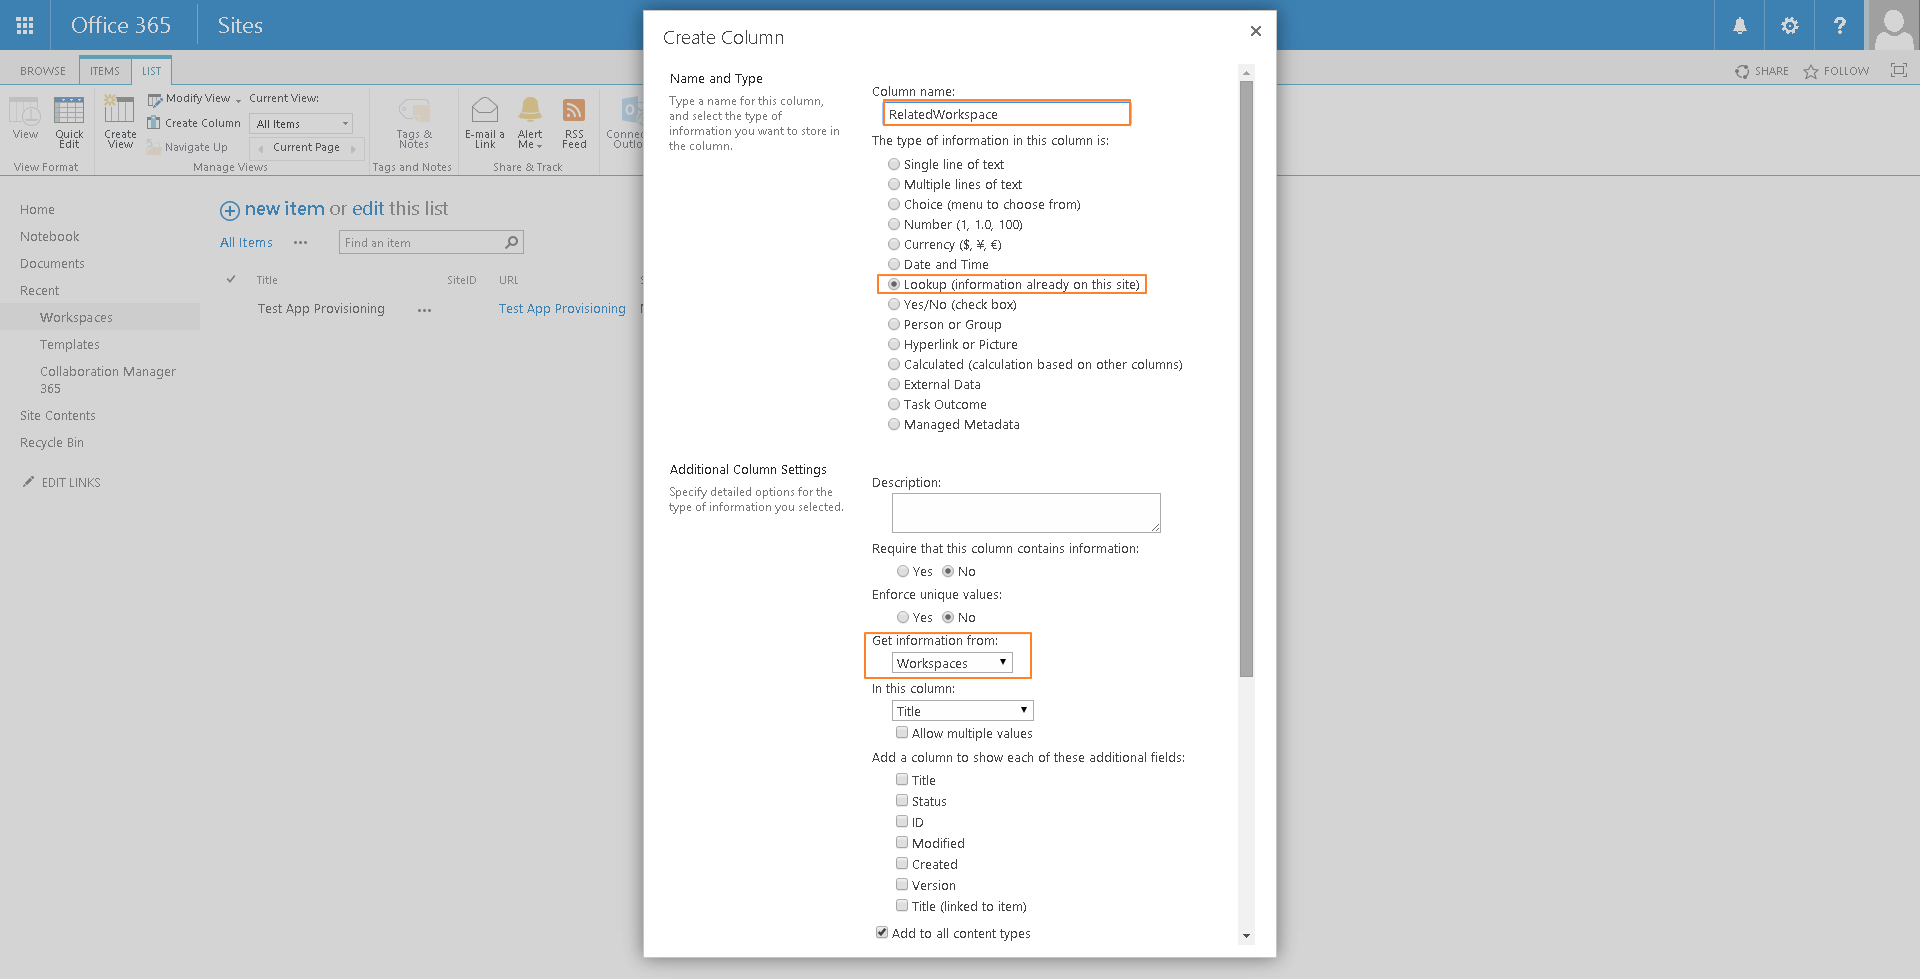
Give it a name, set it to be a lookup column, set the source to the Workspaces list.

Press OK.
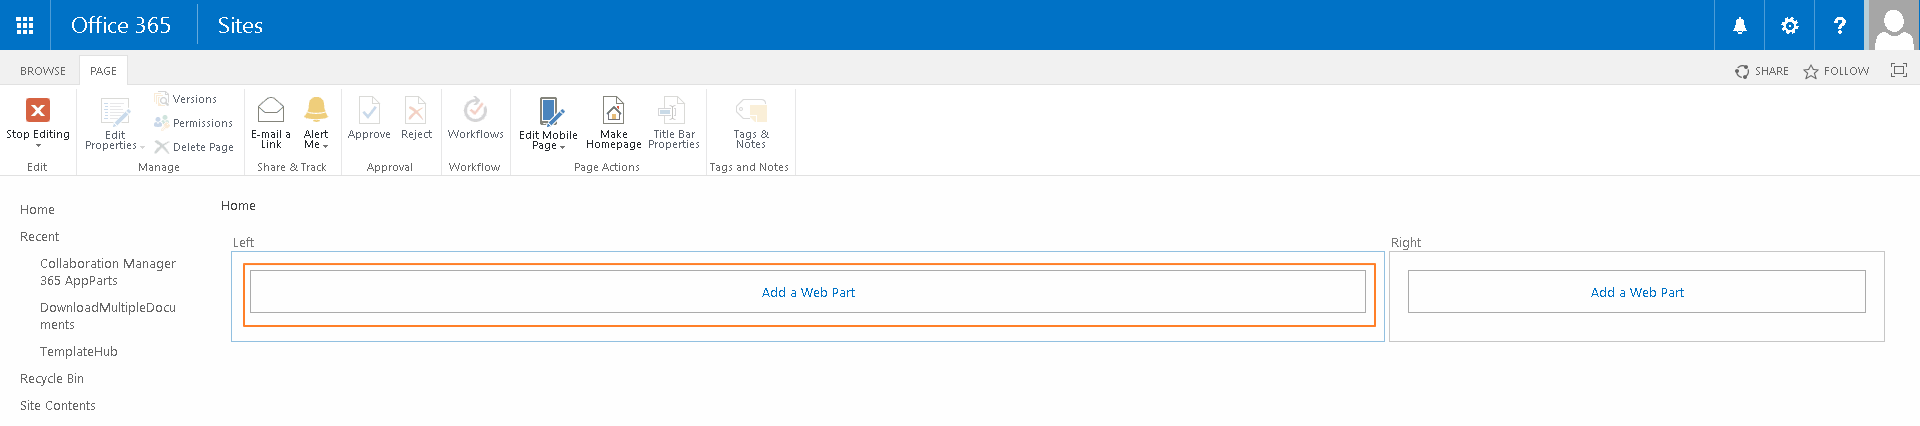
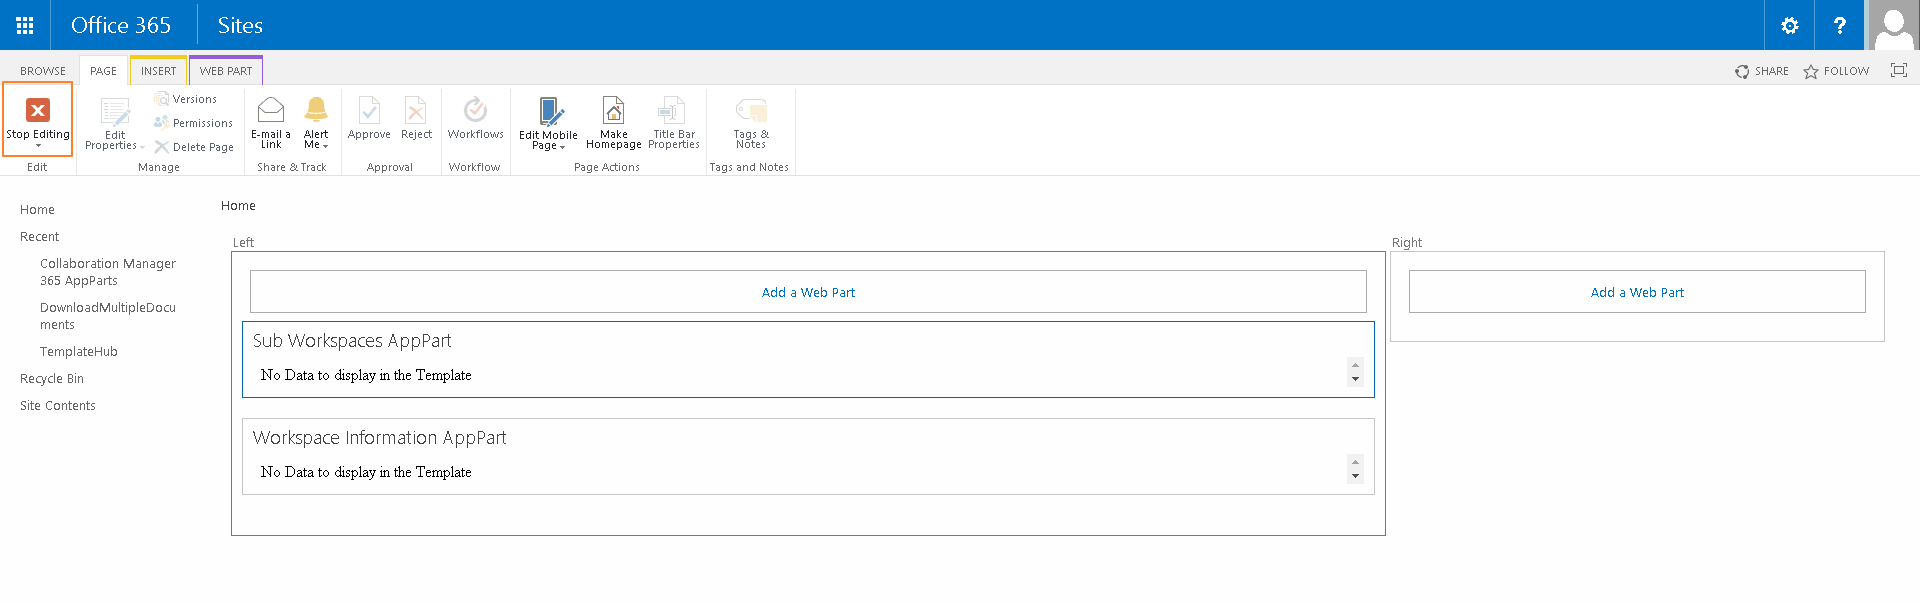
Go to your template sitecollection and press "PAGE" on the page you want to add the webpart.
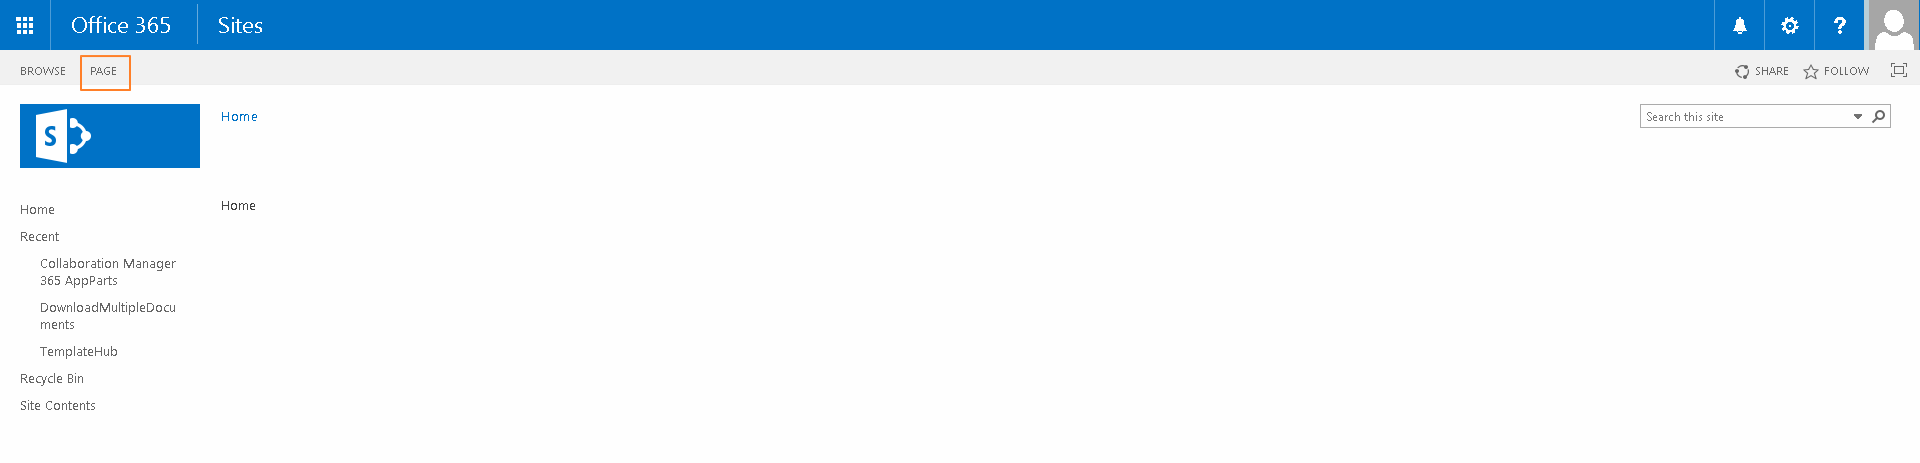
Now click on the edit page link.
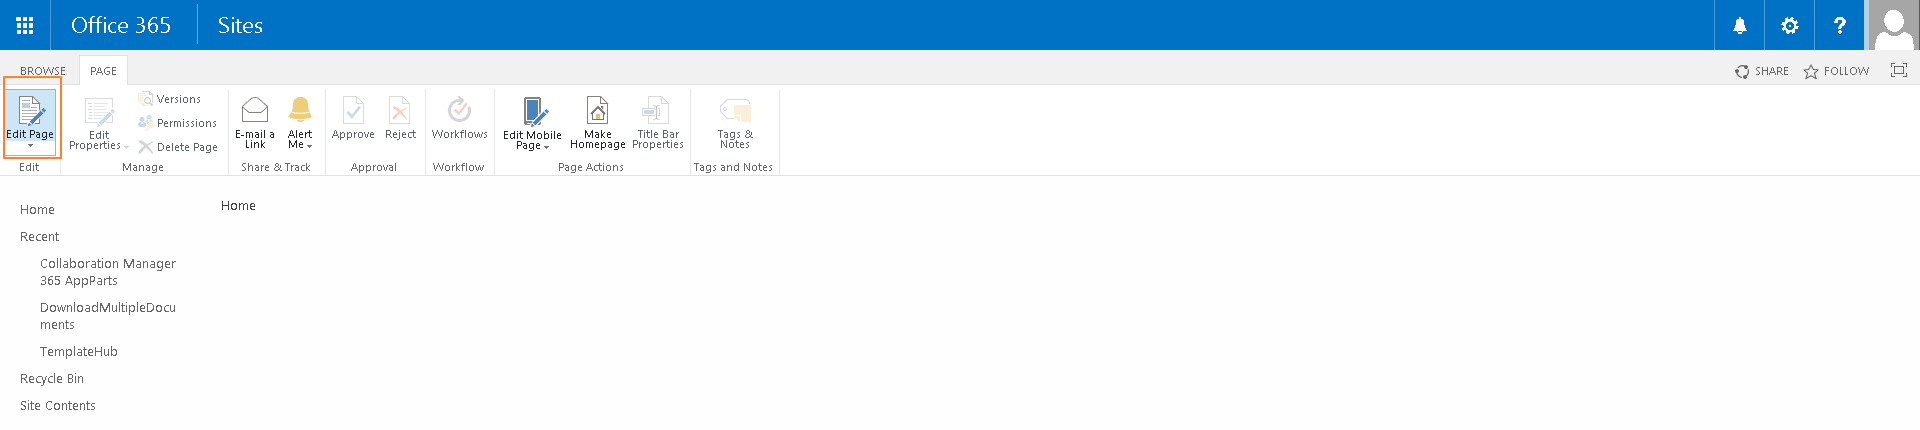
Select the webpart zone and click add a Web Part
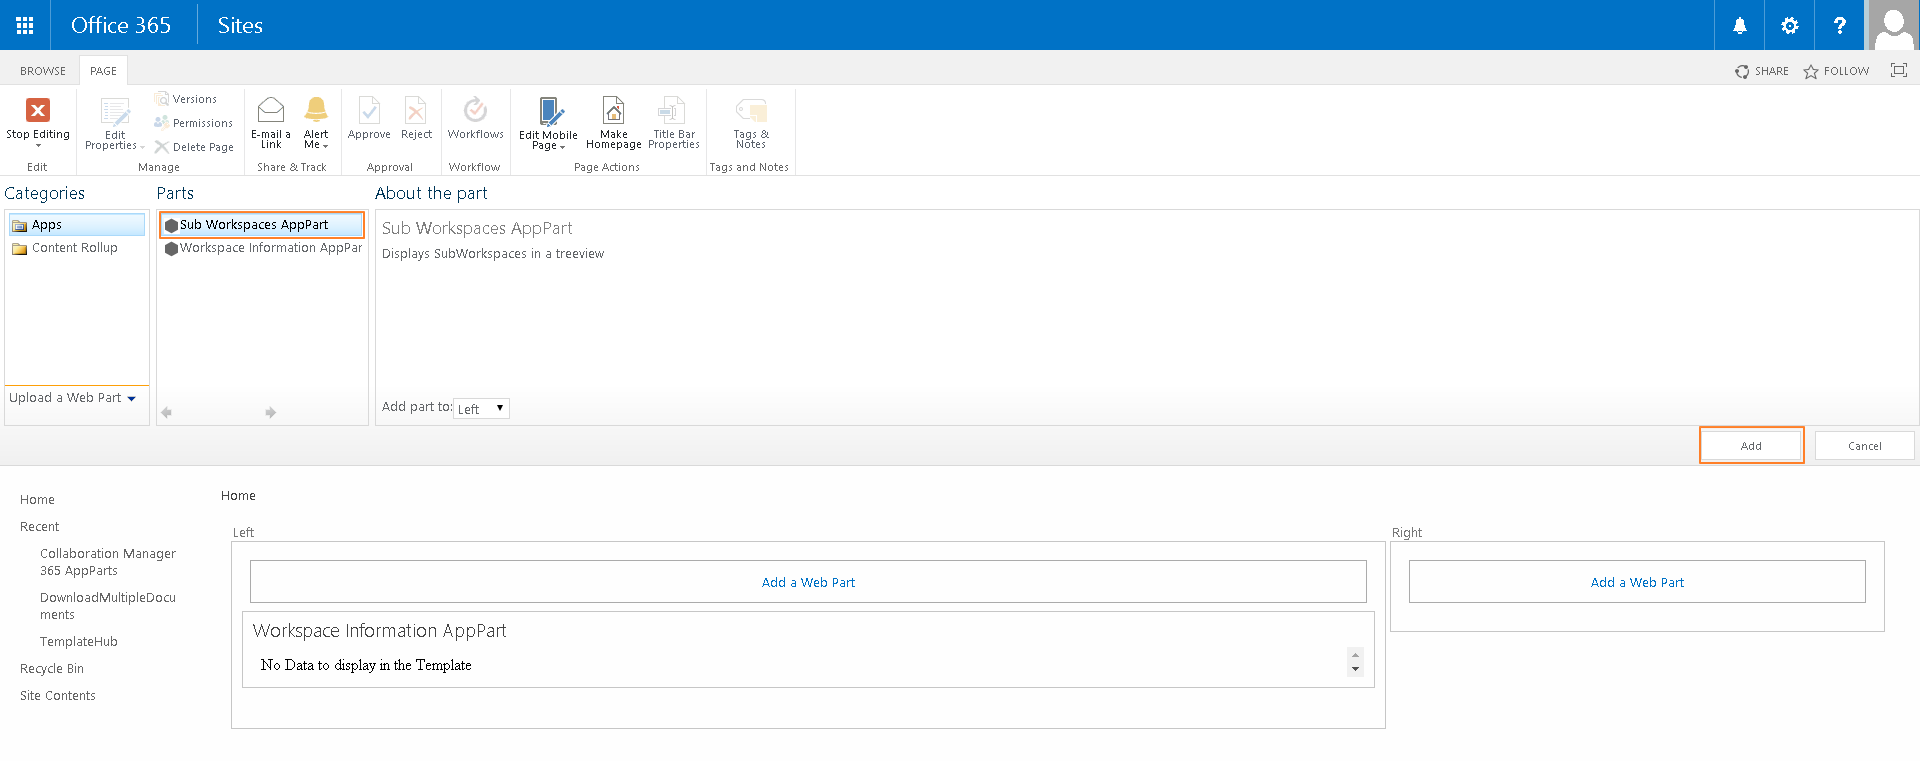
Select the Sub Workspaces AppPart and press the Add Button.
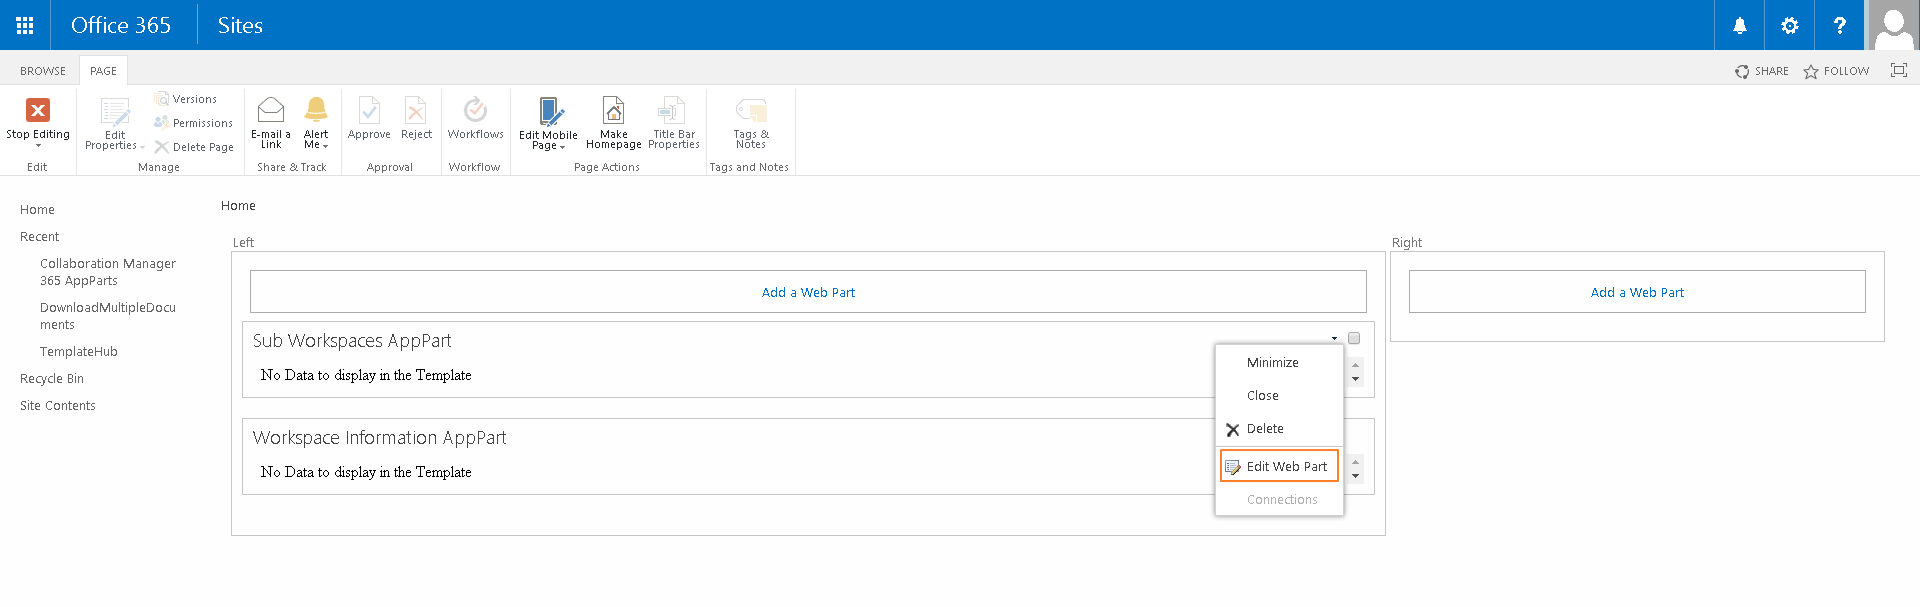
The webpart has been added to you site. click on Edit Web Part
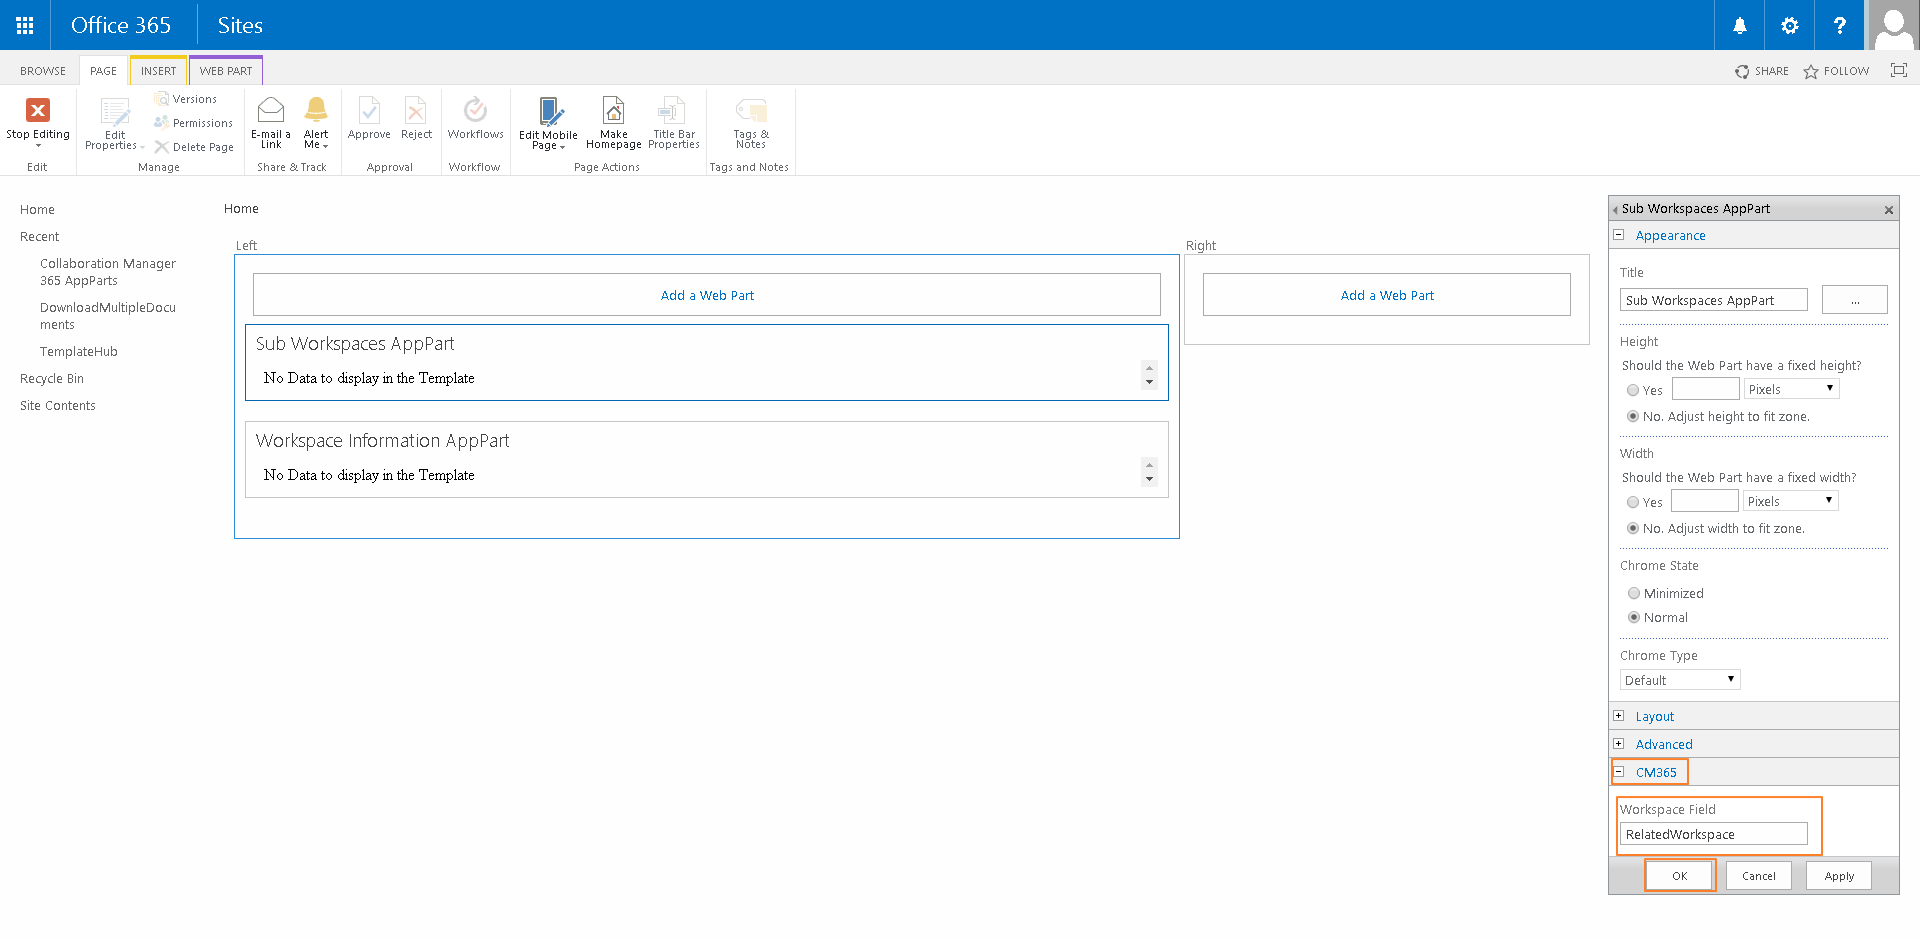
Select the CM365 Category. In the input field add the internal name of the newly created column. Press OK.
Press Stop Editing.
After you have finished please navigate back in the template list and save the template.
Related Articles
Workspace Information Webpart
1. Go to your template sitecollection and press "PAGE" on the page you want to add the webpart. 2. Now click on the edit page link. 3. Select the webpart zone and click add a Web Part 4. Select the Workspace Information AppPart and press the Add ...Fast Workspaces
General Settings Create a template With Fast Workspaces you have the option to create pregenerated workspaces. 1. Select the "Fast Workspaces" link in the Settings overview. 2. Now you can choose the number of pregenerated workspaces and if older ...Workspaces get the same URL from Fast Workspaces
In the Collaboration Manager for Sharepoint Online is a function for generating Fast Workspaces sequentially. You can change this setting under CM365 -> Setup -> Settings -> Fast Workspaces -> allow fast workspace safe obtention Please note that ...Cannot create Workspaces (CM is installed on two Site Collections or more)
Problem: When you create a workspace you are getting an Error. In the log there is an entry like "... invalid field name ..." Reason: You have installed the Collaboration Manager on two Site Collections or more. The settings for the CM are global, so ...Collaboration Manager 365: Provisioning of apps on the whole tenant
Provisioning of apps on the whole tenant Since version 1.1.3, SPFx gives you the possibility to install webparts on your whole tenant, so you don't have to install it on all sites of the organization. In order to use this feature, you have to ...